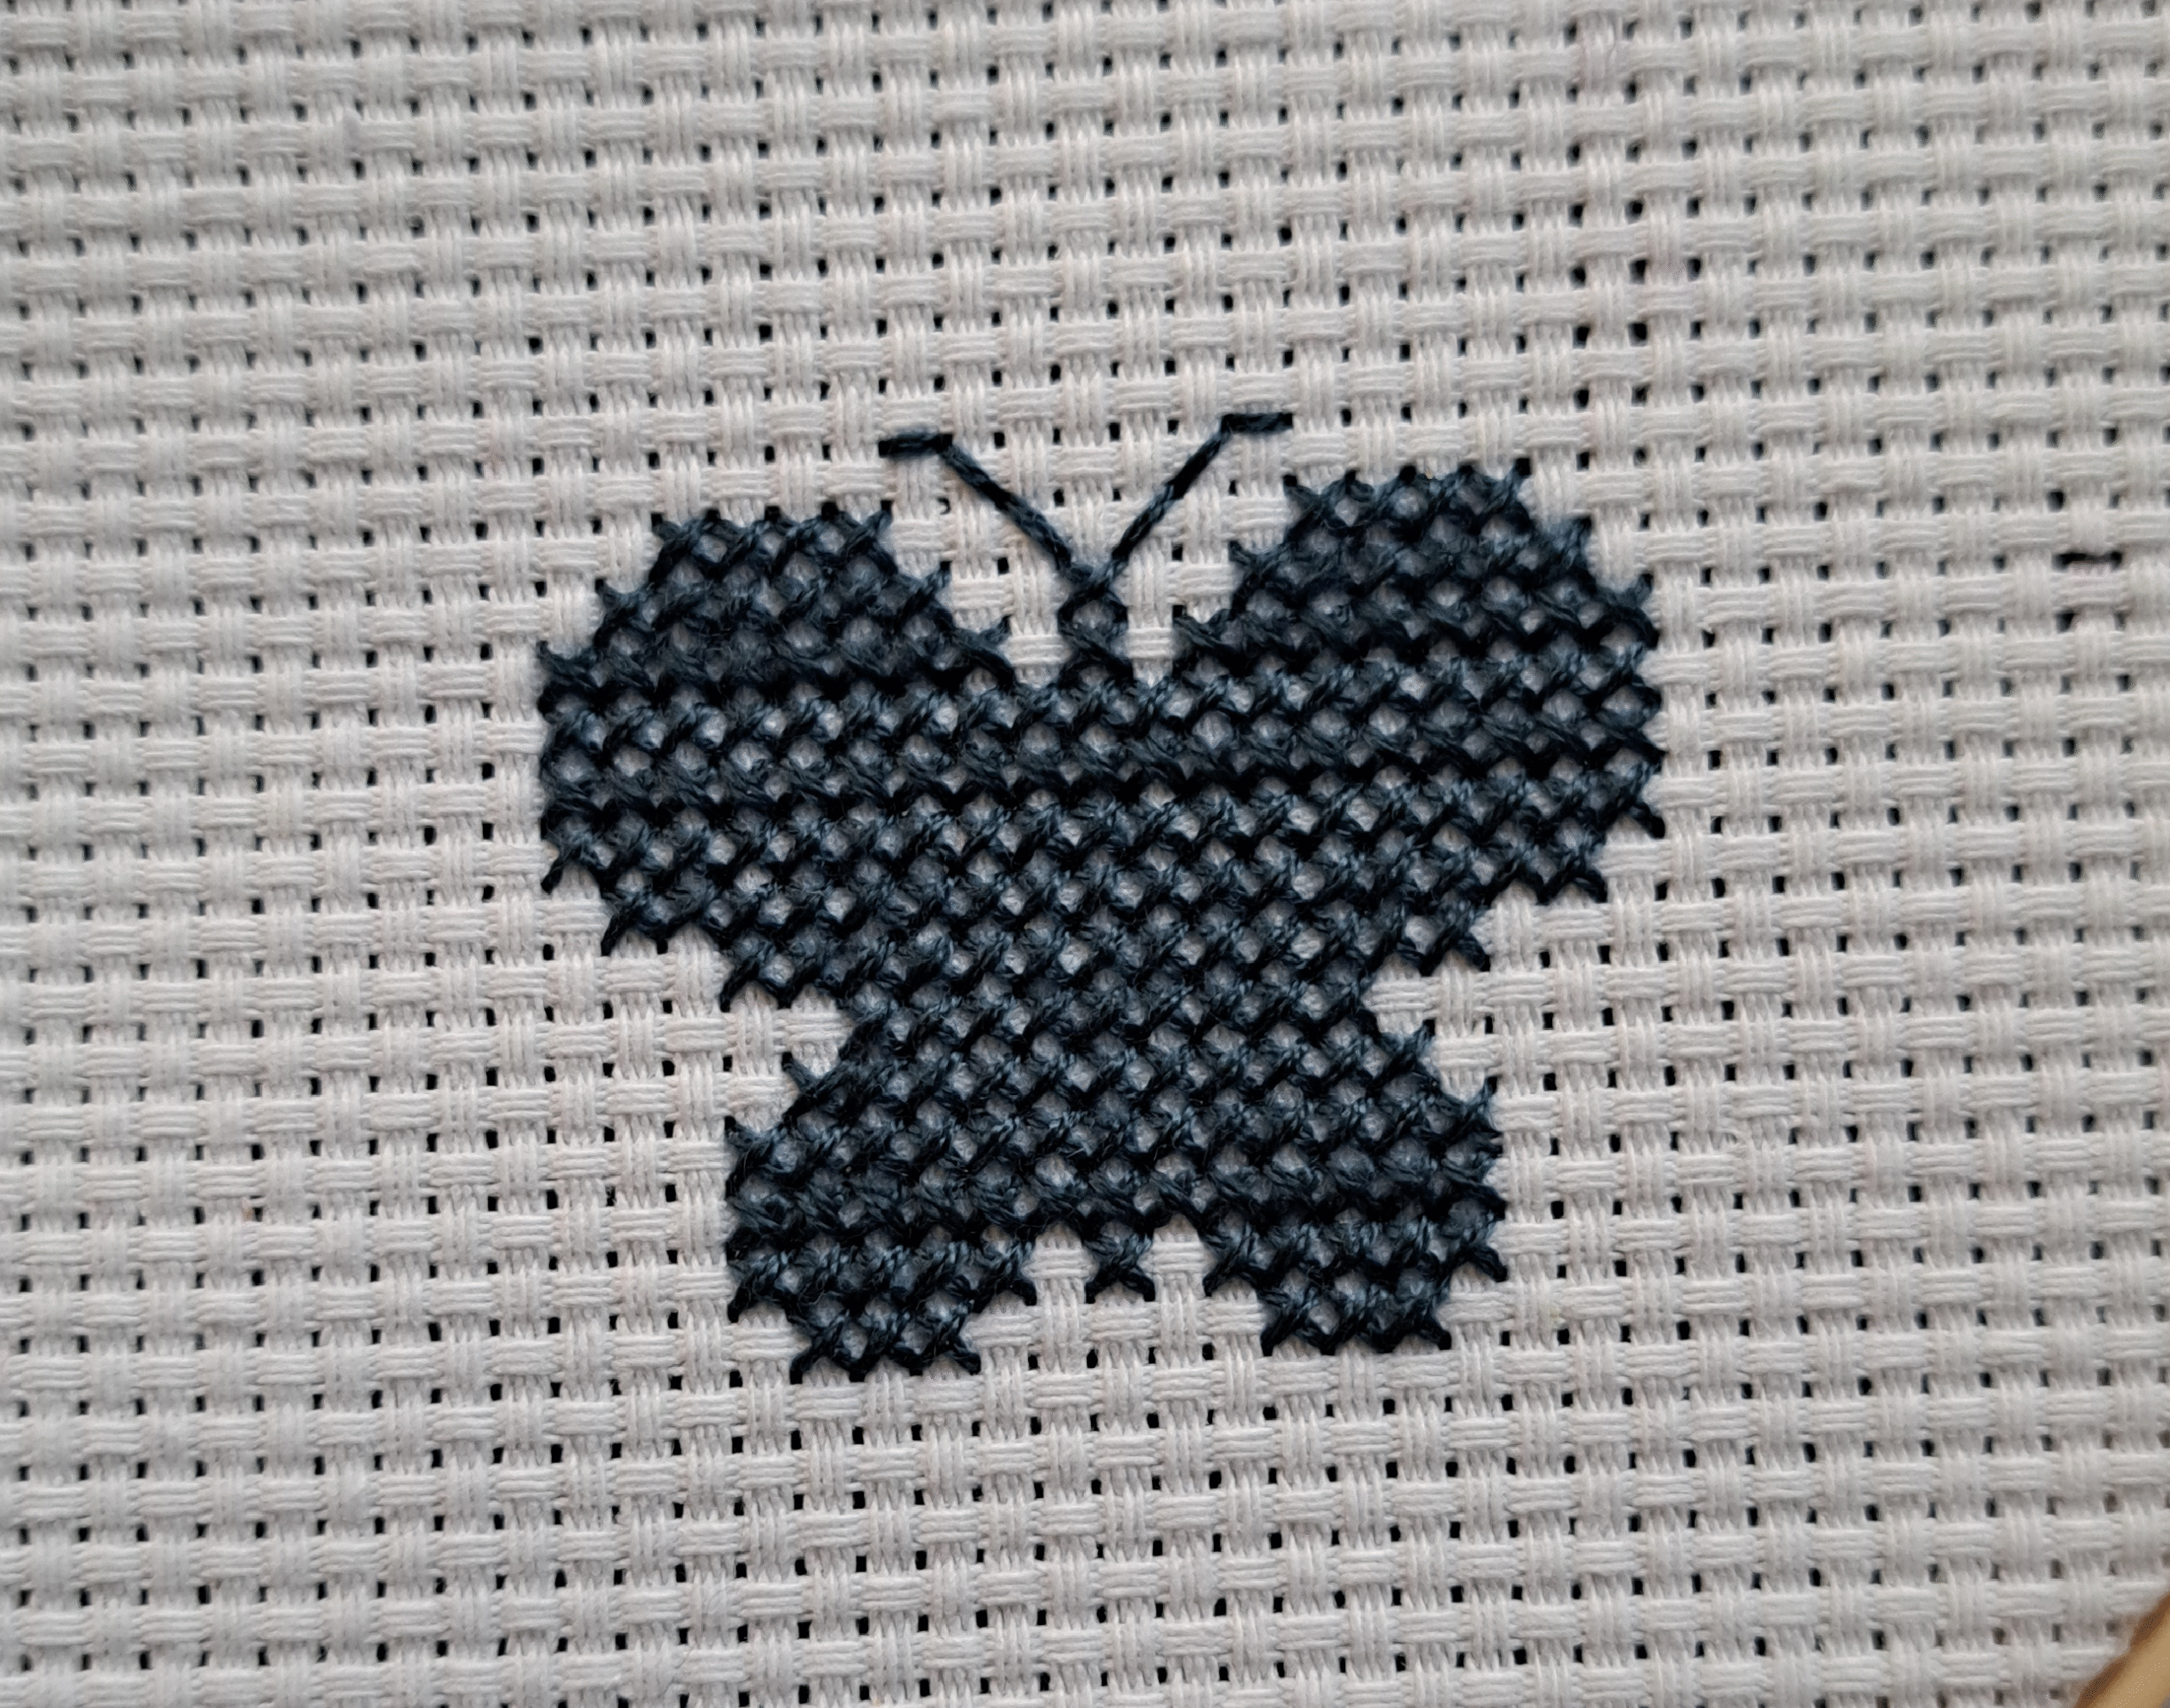
From time to time, needlework can go wrong direction and you need to unstitch your needlework. In my case I came short with threads, so I will unstitch the embroidery and separate the threads. So this is a great opportunity to figure out and explain to you how to unstitch cross-stich embroidery. Nothing special is required, just few things.

Equipment
- the actual embroidery that you want to unstitch,
- a needle,
- forbearance.
Instructions
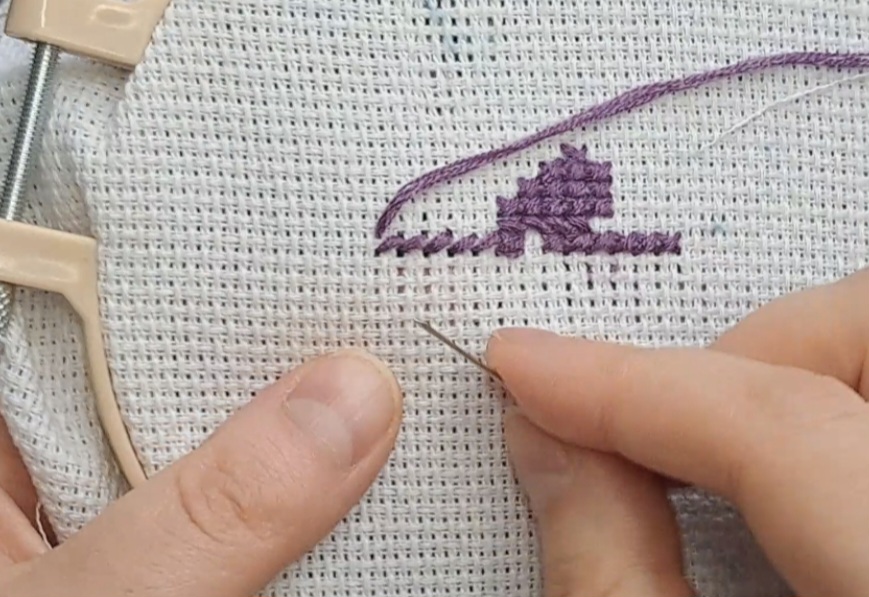
- Take the embroidery you want to unstitch, find the end of the thread.
- With the sharp side of the needle, go under the first tread line, get hook it and pull it up.
- Go to the next cross and repeat the action again.
- Don’t try unstick the whole cross at once as most of the cross-stitch needlework does first in one direction (back slash) and then in the other direction (forward slash). See the schema below.
— X X X
–> \ \ \
<– / / / - Continue unstitching row by row.
If you have a diagram of your cross stitch, it can help you get started faster, but if you don’t, you can follow this instraction.
Tips and tricks
- Depending on the embroidery, the needlework pattern can be tricky and you don’t know what part unstitch next. In this case, I suggest trying to hook and pull few cross-stich closer to what you unstitch as it shouldn’t go very far from you just did The next cross reveals itself.
- If the part you need to unstitch is quite large, divide it into several sessions.
- Don’t do it when you’re tired.
- Don’t see it as a failure, but as an opportunity for improvement.
- Think of it as part of the learning process.
- Be patience and see you soon.
Here, you can find the video of removing embroidery.